Advestisment

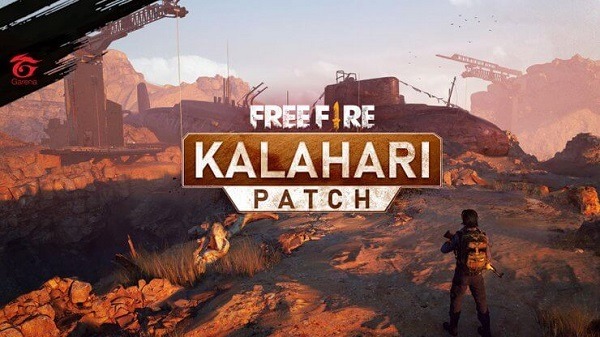
The Kalahari map in Garena Free Fire offers a unique battleground filled with rugged terrain, open spaces, and strategic vantage points. Mastering Kalahari requires smart positioning, the right weapons, and effective survival strategies. This guide will help you navigate key locations, best drop points, top weapons, and pro tips to dominate every match and secure the Booyah!
1. Kalahari Map Overview: Key Features & Locations
Kalahari is smaller than Bermuda and Purgatory but more challenging due to its high-ground areas, open spaces, and complex structures.
1.1 Best Locations to Land
-
Refinery – A hot drop zone with high-tier loot and the best high-ground advantage.
-
Command Post – Ideal for snipers with buildings offering wide vision.
-
Bayfront – Balanced location with good loot & safe escape routes.
-
Mammoth – Open terrain with hidden loot spots & ambush opportunities.
-
Santa Catarina – A low-risk landing spot for beginners to gear up safely.
1.2 Best Drop Strategies
-
For aggressive players: Land at Refinery or Command Post for early kills.
-
For safe looting: Drop at Santa Catarina or The Sub before rotating to the safe zone.
2. Best Weapons & Loadouts for Kalahari
2.1 Top Weapon Choices
Due to Kalahari’s long-range battles and intense close combat, having the right weapons is crucial.
-
Sniper Rifles (AWM, Kar98k, Woodpecker) – Best for high-ground fights.
-
Assault Rifles (SCAR, AK, XM8) – Ideal for mid-range combat.
-
Shotguns (M1887, MAG-7, M1014) – Perfect for close-quarters combat in tight areas.
-
SMGs (MP40, UMP, Vector) – Fast-firing weapons for close-range battles.
2.2 Recommended Loadout
-
Primary Weapon: Sniper or Assault Rifle (for range advantage).
Advestisment
-
Secondary Weapon: Shotgun or SMG (for close combat).
-
Utility: Gloo Walls, Grenades, and Medkits (for survival and cover).
3. Pro Survival Strategies for Kalahari
3.1 Mastering High Ground Combat
-
Use elevated positions (Refinery, Command Post) to gain better sightlines.
-
Always take cover behind structures or Gloo Walls when engaging from high ground.
3.2 Efficient Use of Gloo Walls
-
Place Gloo Walls strategically to avoid getting caught in open areas.
-
Use multiple Gloo Walls when rushing enemies or retreating.
3.3 Best Rotations & Safe Zone Tactics
-
Move early to avoid getting trapped in shrinking safe zones.
-
If caught in the open, use vehicles or natural cover to avoid getting sniped.
4. Pro Tips to Dominate Kalahari
4.1 Adjust Sensitivity for Precision
-
High sensitivity helps with fast aiming and sniping.
-
Lower scope sensitivity ensures better headshot accuracy.
4.2 Best Character Skills for Kalahari
-
Chrono – Deploys a shield for cover in open fights.
-
Kelly (Awakened) – Boosts sprinting speed for quick rotations.
-
Alok – Heals while running, crucial for staying alive.
-
Skyler – Destroys enemy Gloo Walls, perfect for aggressive players.
5. Conclusion: Master Kalahari & Secure the Booyah!
Kalahari’s desert terrain and vertical combat require adaptability, quick reflexes, and the right strategies. By choosing the best drop locations, mastering high-ground tactics, using effective loadouts, and playing smart, you’ll dominate the map and claim more victories.
🔥 Now, drop into Kalahari and show them who’s boss! 🔥
Advestisment

